WordPress powers over 40% of the web. That scale makes it a permanent target. In 2025 alone, the WordPress ecosystem recorded 11,334 new vulnerabilities — a 42% year-over-year increase. Plugins accounted for 91% of them, and the median time from disclosure to mass exploitation was five hours.
Security plugins help, but they run inside WordPress itself — the very environment an attacker is trying to compromise. A firewall that can be disabled by the malware it is supposed to stop is not a firewall. It is a suggestion.
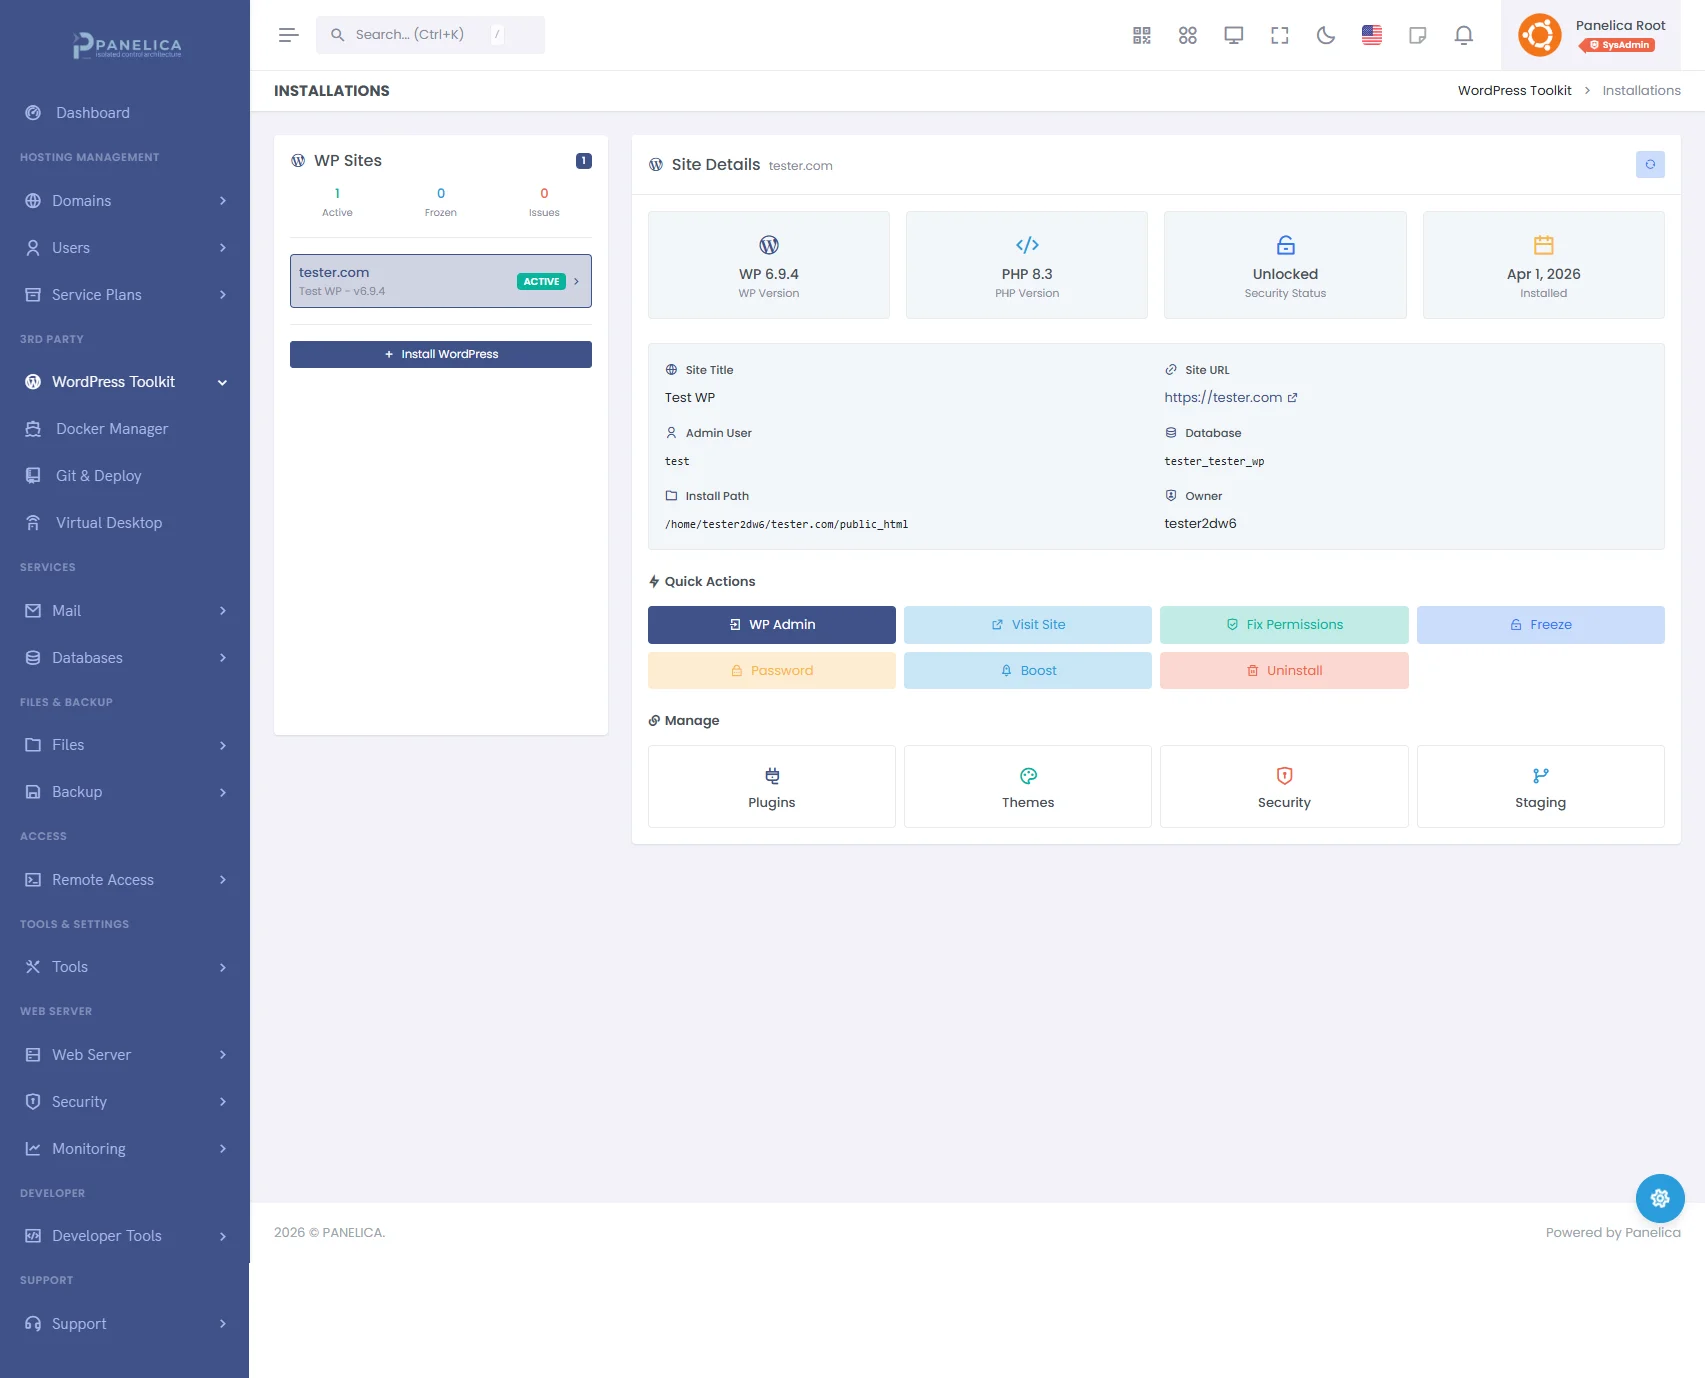
This is why the Panelica WordPress Toolkit builds security into the hosting platform layer, outside the reach of any WordPress code. This article walks through every feature — what it does, why it matters, and how to use it.
In This Article
- Security Dashboard and Score
- Security Agent — Your Server-Level Firewall
- Login Protection and Rate Limiting
- IP Blacklist, Whitelist, and Country Blocking
- Bot Protection — 50 Bots, 5 Categories, rDNS Verification
- Security Scanner — Five-Layer Threat Detection
- Hardening — Six One-Click Security Fixes
- Login Activity and Threat Timeline
- IP Threat Intelligence
- Site Freeze — Lock Every File
- Boost — Proprietary Caching Engine
- Batch Operations and File Management
1. Security Dashboard and Score
Open any WordPress installation and navigate to the Security page. The first thing you see is a security score between 0 and 100, calculated from the results of the most recent scan and hardening status.
Checks Passed
How many security checks your site passes out of the total available. Includes hardening items, file integrity, and configuration checks.
Threats Found
Number of suspicious files, malware detections, and PHP files in the uploads directory. Zero is the target. Anything above zero turns red.
Modified Files
WordPress core and plugin files that have been changed from their original versions. Could be legitimate customizations or signs of compromise.
Login Attempts
Total login events in the selected time period — including successes, failures, and blocks. A sudden spike usually means a brute-force attack in progress.
2. Security Agent — Your Server-Level Firewall
The Security Agent is a lightweight component that installs directly into your WordPress site as a must-use plugin (MU-plugin). Unlike regular plugins, MU-plugins cannot be deactivated from the WordPress admin — they load before any other code, making them resistant to tampering.
Click Install Agent on the Overview tab. Once installed, the agent provides four categories of protection, all configurable from the panel without touching any WordPress files:
- Login protection with brute-force blocking
- HTTP rate limiting
- IP and country-based firewall rules
- Bot classification with DNS verification
The agent reports events back to the panel in real time — every blocked IP, every failed login, every rate-limited request appears in the Activity tab within seconds.
3. Login Protection and Rate Limiting
Login Protection
Enable it with a toggle. Three settings control the behavior:
- Maximum Attempts — how many failed logins an IP address is allowed before being blocked (1 to 100, default: 5)
- Block Duration — how long a blocked IP stays blocked (5 minutes to 24 hours)
- Rate Window — the time period in which failed attempts are counted (1 minute to 1 hour)
When an IP exceeds the threshold, it is blocked immediately. The block applies to wp-login.php and xmlrpc.php — the two most commonly attacked WordPress endpoints.
HTTP Rate Limiting
Separate from login protection, this limits the total number of HTTP requests any single IP can make per minute. The default is 120 requests per minute — generous enough for legitimate browsing but effective against automated scanning tools that send hundreds of requests per second.
Configurable range: 10 to 10,000 requests per minute, with ban durations from 1 minute to 1 hour.
4. IP Blacklist, Whitelist, and Country Blocking
IP Blacklist
Add IP addresses or CIDR ranges to permanently block them. Supports IPv4 (192.168.1.1), IPv4 CIDR (10.0.0.0/8), IPv6, and IPv6 CIDR. Blocked IPs receive no response — the connection is dropped before WordPress loads.
IP Whitelist
IP addresses that should never be blocked, regardless of their behavior. Add your office IP, your monitoring service, or your CI/CD pipeline to ensure they are never affected by rate limiting or brute-force protection.
Country Blocking
Enable the toggle and add two-letter country codes (RU, CN, KP, etc.). Every incoming request is checked against a GeoIP database. Requests from blocked countries are rejected before reaching WordPress.
5. Bot Protection — 50 Bots, 5 Categories, rDNS Verification
Not all bots are malicious. Googlebot indexes your site. Facebookbot generates link previews. UptimeRobot checks if your site is online. Blocking all bots would be destructive. The challenge is distinguishing legitimate bots from impersonators.
The Security Agent classifies bots into five categories:
| Category | Bots | Examples | rDNS |
|---|---|---|---|
| Search Engines | 17 | Google, Bing, Yandex, Baidu, DuckDuckGo | Yes |
| Social Media | 10 | Facebook, Twitter/X, LinkedIn, Pinterest | Yes |
| Monitoring | 9 | Pingdom, Uptime Robot, StatusPage, Datadog | No |
| SEO Tools | 6 | Semrush, Ahrefs, Moz, SE Ranking | Yes |
| AI Crawlers | 8 | GPTBot, ClaudeBot, Google-Extended, PerplexityBot | Yes |
Each category can be toggled independently. Want search engines and social media bots but not AI crawlers? Two toggles.
rDNS Verification
Any bot can claim to be Googlebot by setting its User-Agent string. rDNS (reverse DNS) verification checks whether the IP address actually belongs to Google. The agent performs a reverse DNS lookup on the IP, then a forward DNS lookup on the result. If they match, the bot is legitimate. If not, it is an impersonator — and it is blocked.
Custom Bot Patterns
Beyond the built-in 50 bots, you can add custom User-Agent patterns. If you use a proprietary monitoring tool or a custom scraper that needs access, add its User-Agent string to the whitelist.
6. Security Scanner — Five-Layer Threat Detection
The Scanner tab offers two modes:
- Quick Scan — four checks, completes in seconds
- Full Scan — five checks including ClamAV antivirus, takes longer but is more thorough
Both modes execute in real time with a step-by-step progress indicator:
Core Integrity
Compares every WordPress core file against the official checksums for your installed version. Detects modified, added, or deleted core files — the most common sign of a compromised installation.
Plugin Integrity
Checks plugin files against their known-good versions. A modified plugin file could mean a backdoor injected into otherwise legitimate code.
Suspicious Files
Scans for PHP files containing dangerous functions: eval(), base64_decode(), system(), exec(), passthru(), and similar constructs. Files are flagged with the specific reason and can be deleted directly from the results.
PHP in Uploads
The wp-content/uploads/ directory should contain images, documents, and media — never PHP files. Any PHP file found here is almost certainly malicious. The scanner lists them with a one-click delete button.
Malware Scan (Full Scan Only)
Runs ClamAV antivirus across the entire WordPress installation. ClamAV uses signature databases updated regularly to detect known malware families, trojans, backdoors, and web shells. Files identified as infected are listed with their threat name and a delete button.
After the scan completes, results are displayed as summary badges: threats found, modified files, infected files (if ClamAV ran), and total scan time. Each section expands to show individual files with their paths, sizes, modification dates, and the specific reason they were flagged.
7. Hardening — Six One-Click Security Fixes
The Hardening tab shows six security controls, each with its current status (secure or insecure) and a one-click Fix or Undo button:
| Control | What It Does | Why |
|---|---|---|
| Disable Theme/Plugin Editor | Removes the built-in code editor from wp-admin | If an attacker gains admin access, the first thing they do is edit a plugin file to inject a backdoor. No editor means no easy injection point. |
| Hide WordPress Version | Removes the version number from HTML source and RSS feeds | Automated scanners check the version to determine which known exploits apply. Hiding it forces attackers to probe blindly. |
| Disable XML-RPC | Blocks the xmlrpc.php endpoint entirely |
XML-RPC is a legacy API used for pingbacks and remote publishing. It is also the primary vector for amplified brute-force attacks — a single XML-RPC call can test hundreds of passwords at once. |
| Disable Directory Listing | Prevents Apache/Nginx from showing directory contents when no index file exists | Without this, anyone can browse /wp-content/uploads/ and see every file. This reveals site structure, plugin names, and potentially sensitive uploaded documents. |
| Disable User Enumeration | Blocks ?author=1 and REST API user listing for unauthenticated requests |
Attackers enumerate usernames before attempting brute-force. If they know the admin username is "john" instead of guessing, they cut their attack surface in half. |
| Enable Security Headers | Adds HSTS, X-Frame-Options, Content-Security-Policy, X-Content-Type-Options | These HTTP headers prevent clickjacking, MIME-type sniffing, and downgrade attacks. Every modern security audit checks for them. |
Each control shows its current value (e.g., "disabled" or "enabled") and a status badge. Click Fix to apply the secure setting, or Undo to revert if needed. The security score updates immediately.
Delete All Comments
Below the hardening controls is a utility to remove all WordPress comments — approved, pending, spam, and trashed. Useful for sites that do not use comments but have accumulated thousands of spam entries that slow down the database.
wp-config.php, .htaccess, and functions.php. And because the changes are tracked, you can see exactly what is applied and undo anything instantly.
8. Login Activity and Threat Timeline
The Activity tab is where you see what is happening to your site in real time.
Security Timeline
A multi-series area chart shows four data streams over time:
- Failed Logins (red) — password guessing attempts
- Blocked Logins (yellow) — attempts rejected by the Security Agent
- IP Blocks (magenta) — IPs that exceeded the threshold and were banned
- Successful Logins (green) — legitimate sign-ins
A spike in red followed by a rise in yellow means the brute-force protection is working. A spike in green at an unusual hour means someone logged in when they should not have.
Top Attackers
Below the chart, a ranked list shows the IP addresses with the most failed attempts. Each entry shows the IP, its country (with flag), total attempts, and failed/success breakdown. Click any IP to open the Threat Intelligence modal.
Login Attempts Table
The detailed table lists every login event with:
- Username attempted
- Source IP with country flag
- Event type (Success, Failed, Blocked) as a color-coded badge
- Method (wp-login or xmlrpc)
- Timestamp
- User-Agent string
Filter by time period (1 day to 90 days), event type, method, or search for a specific IP or username. Export the entire dataset as CSV or JSON for external analysis or compliance reporting.
9. IP Threat Intelligence
Click any IP address in the Activity tab or Top Attackers list to open the Threat Intelligence modal. This provides a detailed profile of the IP:
- Geographic location — country, region, city
- Attack history — how many times this IP has targeted your sites
- Cross-site correlation — whether this IP has attacked other WordPress installations on the same server
- Block/Unblock actions — add the IP to the blacklist directly from the modal, with an optional reason field
10. Site Freeze — Lock Every File
Site Freeze sets the immutable flag (chattr +i) on every file in your WordPress installation. Once frozen, no file can be modified, deleted, or created — not by WordPress, not by plugins, not by an attacker who has gained full admin access.
How to use it: Select a site in the left panel and click the lock icon, or use the Freeze button. The site continues to serve pages normally — visitors see no difference. But behind the scenes, the filesystem is read-only.
When to use it:
- After completing all updates and verifying the site works correctly
- On production sites that should not change between maintenance windows
- As an emergency response when you suspect compromise — freeze the site to prevent further damage while you investigate
To unfreeze: Click the lock icon again or use the Unfreeze button. The immutable flag is removed, and normal operations resume. Apply updates, make changes, then freeze again.
Panelica WordPress Toolkit — Complete WordPress management from your panel
11. Boost — Proprietary Caching Engine
The Boost button on the Installations page activates a proprietary two-layer caching engine built specifically for WordPress on Panelica:
Layer 1: Object Cache
WordPress queries the database for every page load — options, user data, transients, post metadata. The object cache stores these query results in memory so they are served instantly on subsequent requests instead of hitting the database again.
Layer 2: Full-Page Cache
For anonymous visitors (not logged in), the entire rendered HTML page is cached in memory. When the next visitor requests the same page, the cached HTML is served directly — WordPress, PHP, and the database are never touched. Response times drop from hundreds of milliseconds to single-digit milliseconds.
Intelligent Bypass
The caching engine automatically bypasses the cache for:
- Logged-in users (they see personalized content)
- POST requests (form submissions, comments)
- Search results and 404 pages
- Pages that set
DONOTCACHEPAGE - WooCommerce cart and checkout pages
Controls
Toggle Boost on or off with a single button. When active, a stats panel shows cached pages, cached objects, memory usage, and total keys. Adjust the cache TTL (time-to-live) from 60 seconds to 24 hours. Flush all caches instantly when needed.
12. Batch Operations and File Management
When you manage multiple WordPress installations, performing the same action on each one individually is tedious. The Security page supports batch operations:
Multi-Site Selection
The left panel lists all your WordPress installations. Select multiple sites using checkboxes, or use Select All to choose every site at once.
Batch Fix Permissions
Click Batch Fix Permissions to reset file ownership and permissions across all selected sites simultaneously. Directories are set to 755, files to 644, and wp-config.php to 640. The result notification shows how many sites were fixed successfully.
Suspicious File Deletion
When the scanner identifies a suspicious or infected file, a delete button appears next to it. Clicking it opens a confirmation modal showing the full file path. Confirm, and the file is removed from disk. This works for suspicious PHP files, PHP files found in the uploads directory, and ClamAV-detected malware.
WordPress Users Audit
The Users tab lists all WordPress user accounts with their roles. Administrator accounts are highlighted with a red shield icon. If you see an administrator account you do not recognize, it may have been created by an attacker — a common post-compromise persistence technique.
WordPress security is not a single feature. It is a system of features that work together — the firewall blocks known threats, the scanner catches what gets through, the hardening reduces the attack surface, the activity log gives you visibility, the threat intelligence connects the dots across sites, the freeze command locks everything down, and the caching engine makes the site resilient enough to absorb what remains.
No single layer is sufficient. All of them together are formidable. And when they run at the platform level rather than inside the application they are protecting, they are resistant to the one thing that defeats most WordPress security: an attacker who already has admin access.
That is what WordPress security looks like when it is built in, not bolted on.